
All, Case Presentation
ZERAMEX as a featured product by Klaus Pettinger and Wolfgang Weisser

Oct
Klaus Pettinger and Wolfgang Weisser want to motivate their dental technician colleagues to produce individual abutments. It’s worth it, say the two dental technicians. In their two-part article, they show why.
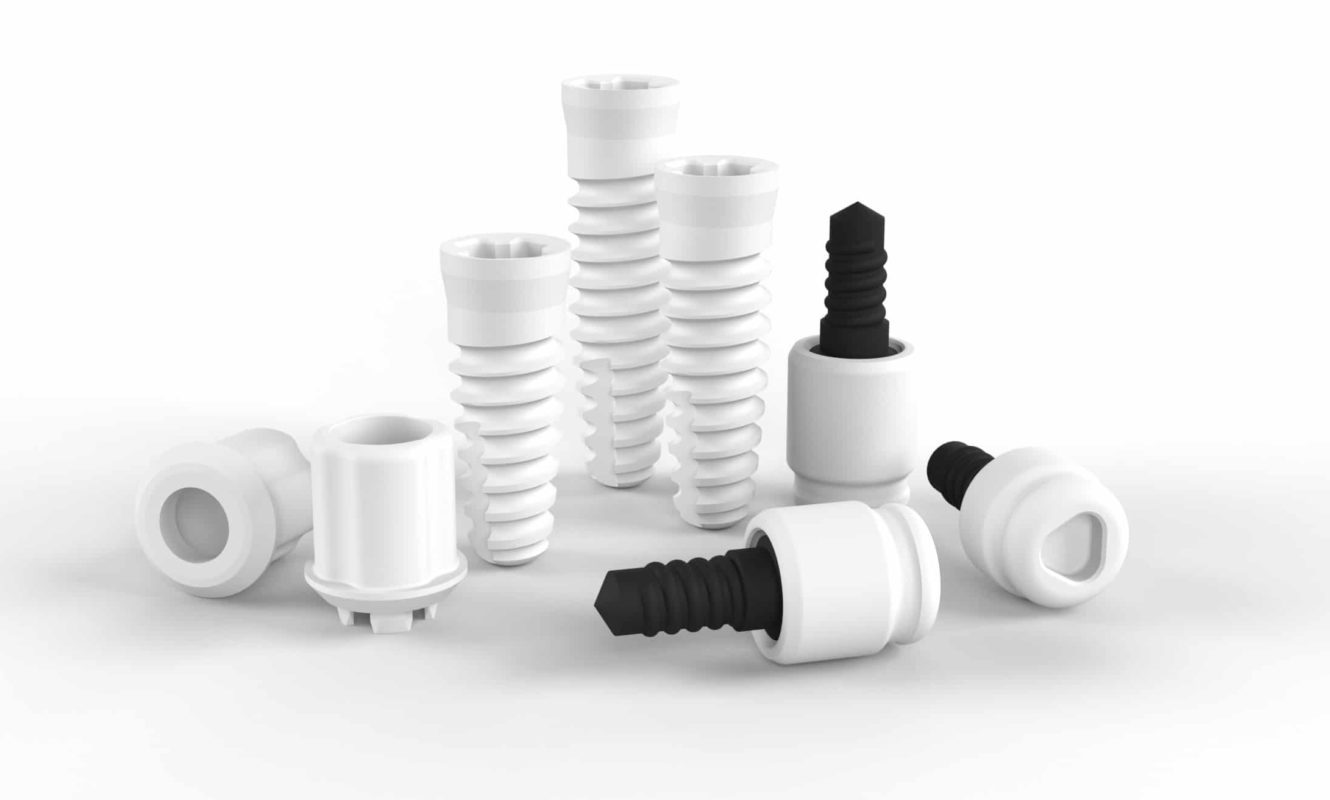
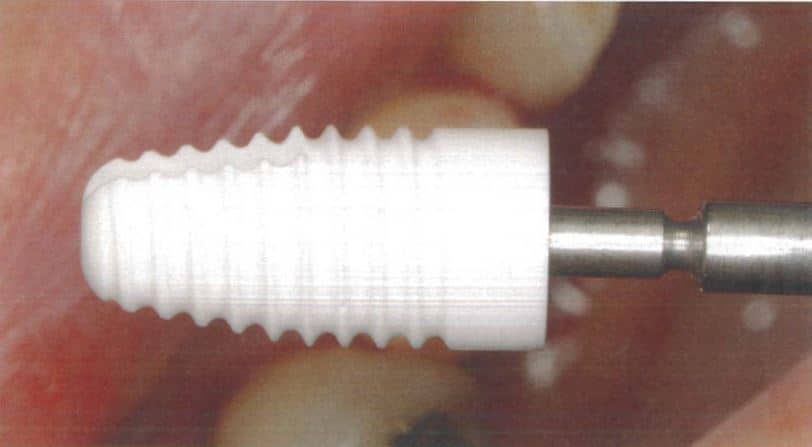
The authors have been in the business for a long time – and more: They have many years of experience with implant-supported dentures. Both specialists have made ceramic implants their great passion (Fig. 1). Klaus Pettinger is even one of the pioneers in this area. Wolfgang Weisser was able to benefit from his specialist knowledge. Together they plan and discuss the handling and pitfalls of ceramic implants. As a result, the idea arose to describe the procedure of the monolithic abutment step by step in a specialist article.
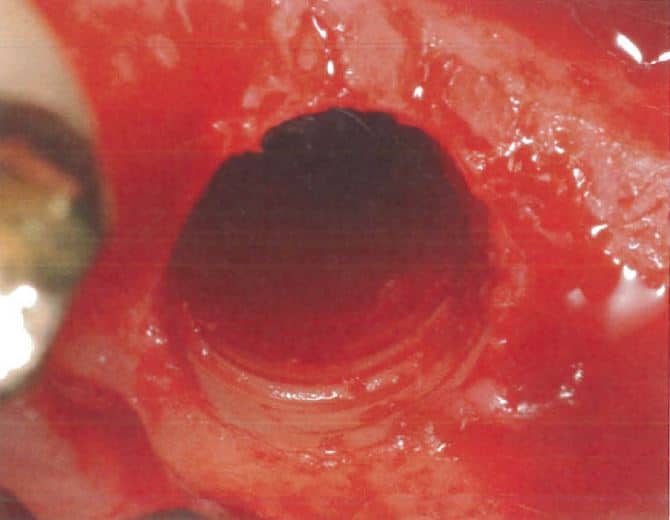
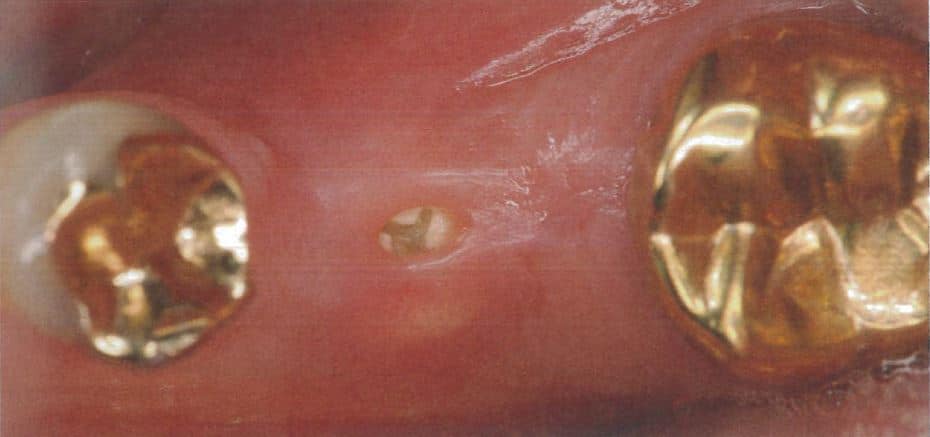
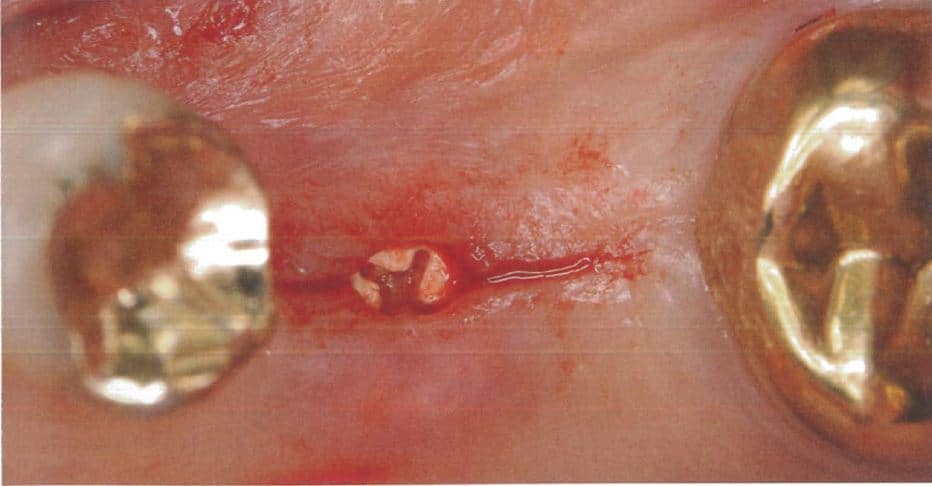
The patient case The loss of the tooth in region 36 (Fig. 2) had caused the patient some inconvenience: food particles accumulated in this area which the man found very annoying. He came to the practice of Dr. Michael Schneider in Schomdorf with the wish to close this gap. After a detailed diagnosis by the practitioner, it was agreed to insert a cervical implant and to remove all metal restorations from the lower jaw in this treatment phase. The renovation should be done with metal-free reconstructions. The surgical procedure The initial situation shows the opening for displaying the bone – performed with a pilot hole (A) with the Zeradrill Pilot 2.3 mm and then via the EP drill with the Zeradrill W 10 with a 5.5 mm drill in preparation for thread cutting (Fig. 3).
Then the thread cutting protocol followed. With this arrangement, Zeratap wide with 5.5 mm (Fig. Step, everything for inserting the 4 and 5) is prepared after the surgical implant.
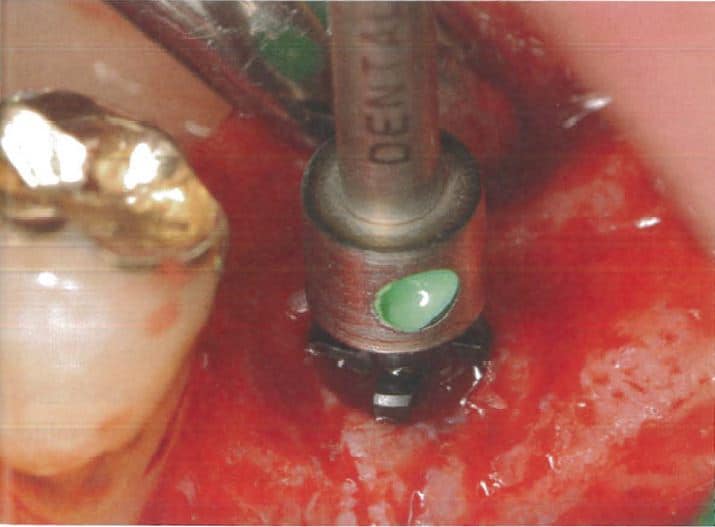
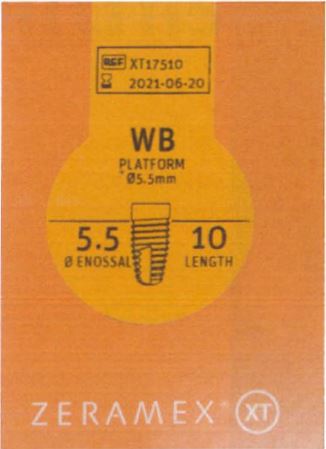
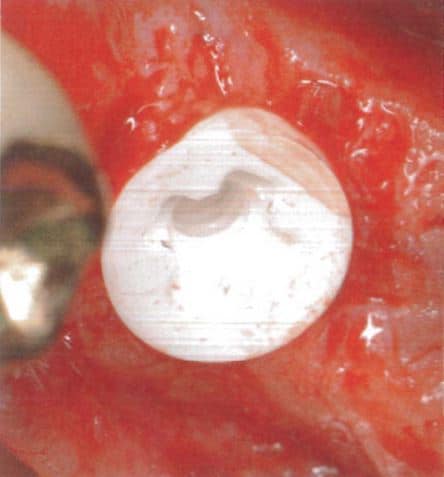
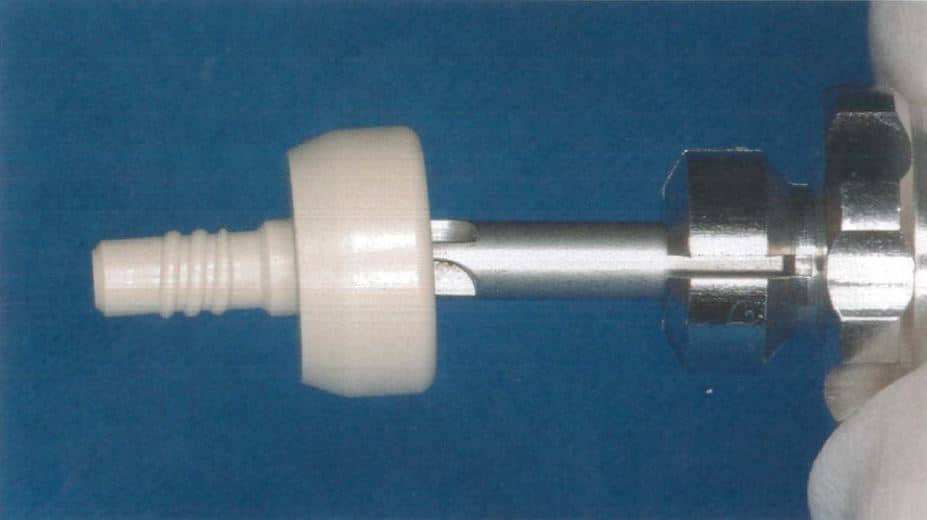
With the pick-up (Fig. 6 and 7) the wide implant is 10 mm long, c Diameter 5.5 mm, used, Dr. Micheal Schneider always sets the same bon level, which is why he is also for the XT from Zeramex supracrestal (Fig. 8) decided.
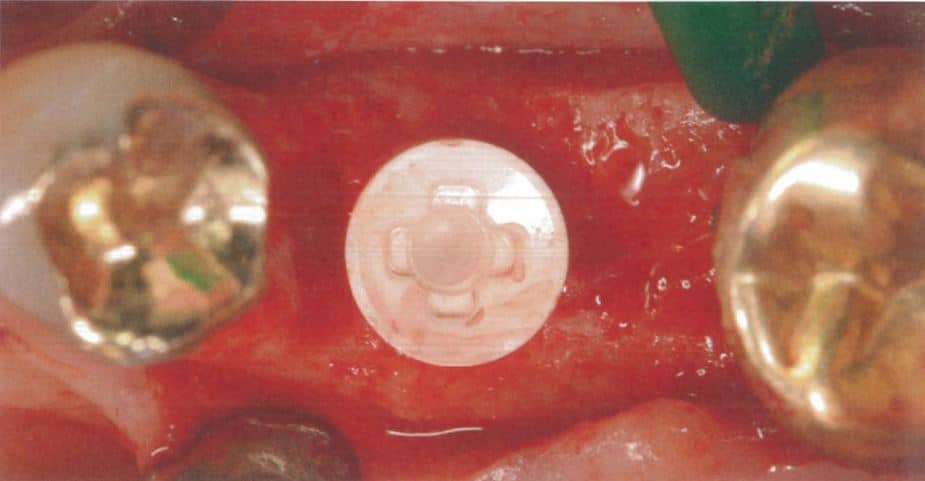
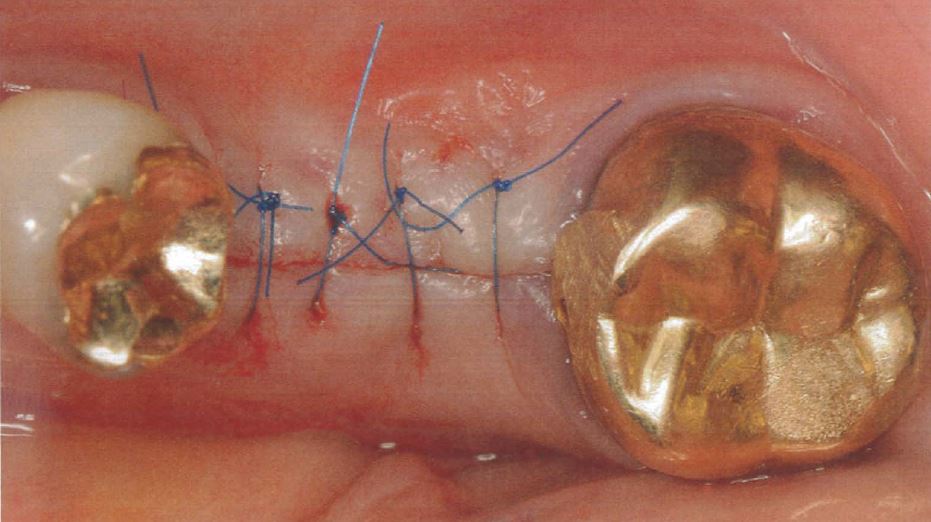
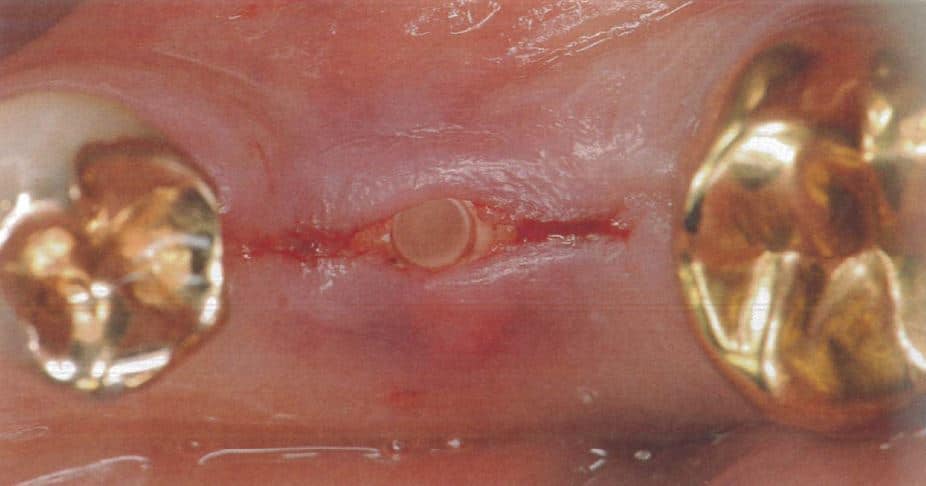
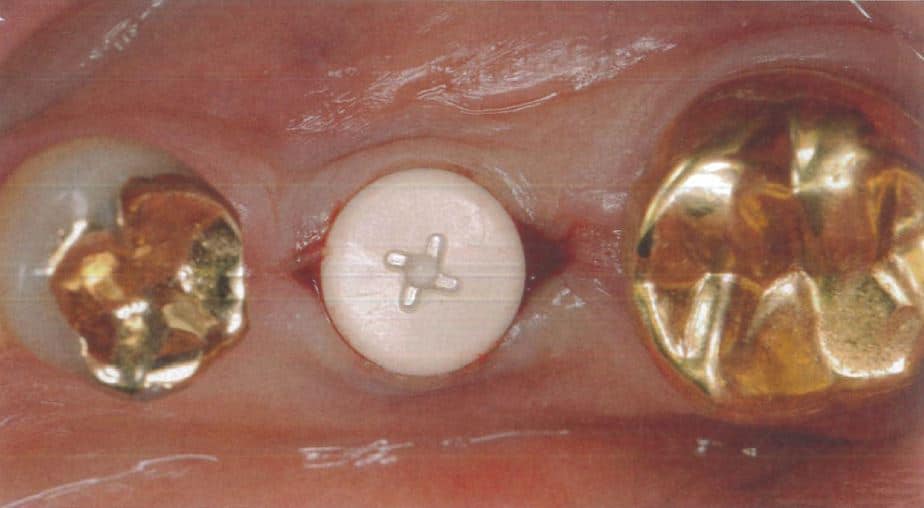
If the retention holder is perfectly aligned, angled standard abutments can later be used in the restoration (Fig. 9). You can clearly see the concave platform – a ten degree cone. After inserting the XT 17510, the wound is closed with the Healing Cap WB 37500 (Fig. 10) – with a Dr. Tailors preferred thin sutures (Fig. 11), which are very comfortable for the patient. After the healing phase, a slightly fenestrated gingiva can be seen over the healing cap (Fig. 12).
The opening is made through the incision for the placement of the gingiva former {Fig. 13). The practitioner removes the healing cap (Fig. 14), the implant is cleaned and replaced with the healing cap WB 37503 (Fig. 15). You can see the situation very well (Fig. 16). It would also be possible to create a custom healing abutment to prepare the space for the later custom abutment.
The second part of the article is about taking an impression and inserting the individual abutment.

Comments are closed.